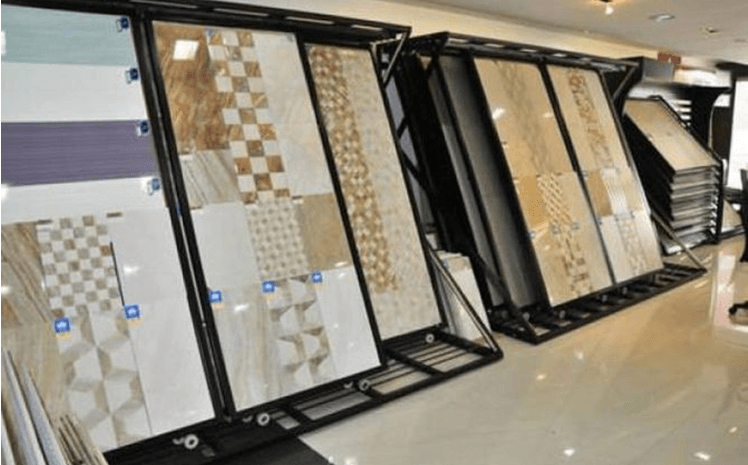
Tiles are everywhere- in our bathrooms and kitchens, and even in our living rooms and bedrooms. They are so prevalent, but many of us are oblivious to the complex manufacturing process behind their creation.
Ever wondered how beautifully designed tiles are manufactured? For example, Ceramic tile is a work of art that you walk on- a spectacular entrance, a refreshing bathroom/spa area, a gastronomic feast for the eyes. But their manufacturing process is very likely to be complicated, right?
Understanding how tile is produced allows you to understand the materials you will live with for years if you choose this product. Knowledge of tile construction also helps you to better understand and assess its performance aspects. You will find out why tile products are easier to clean than others; Why some are more sustainable.

Follow this step-by-step process to know how tile is manufactured.
Step 1: Raw Materials
The raw materials used to form the tiles consist of clay minerals extracted from the earth’s crust, natural minerals such as feldspar, and the chemical additives. Minerals are often refined or valued near the mine before being shipped to the pottery factory.
Raw materials must be pounded and classified according to particle size. Primary crushers are used to cut large pieces of material. A jaw crusher or rotary crusher is used, which works using either a horizontal compression motion between the steel plates or rotational motion between the steel cones, respectively.
Secondary crushing reduces small parts to particles. Hammermills or mills are often used. A crusher uses steel wheels on a shallow turntable, while a hammer mill uses rapidly moving steel hammers to crush the material. Roller or cone crushers can also be used. A third step may be necessary to reduce the particle size.
Then, glaze, a glass material designed to melt on the tile surface during firing and adhere to the tile surface during cooling. Enamels are used to provide moisture resistance and decoration as they can be colored or produce special textures.
Step 2: Batch Processing
For many ceramic products, including tiles, the body composition is determined by the quantity and nature of raw materials. It also determines the color of the body of the tiles, which can be red or white, depending on the number of raw materials that contain iron.
Therefore, it is important to mix the correct amounts to obtain the desired properties. Batch calculations are necessary, which must take into account both the physical properties and the chemical mixtures of the raw materials. When the apt weight of each raw material has been determined, the raw materials should be mixed.
Step 3: Mixing and Grinding
It is a crucial step in tile manufacturing. Once the ingredients have been weighed, they are added to a blender or a rigorous mixer. A shell mixer comprises two cylinders joined in a V, which rotates to flip and mix the material. A belt mixer uses helical blades and an intensive mixer uses fast rotary plows.
This step involves grinding the ingredients, resulting in a finer grain size that advances the subsequent forming process. Sometimes it is essential to add water to better the mixing of a batch of various ingredients, as well as to perform fine grinding. This process is called wet grinding and is often done using a ball mill.
Step 4: Forming
Most of the tiles are formed by dry pressing. In this method, free-flowing powder, containing an organic binder or a low percentage of moisture, flows from a hopper into the forming matrix. The material is flattened in a steel cavity by steel pistons and is then expelled by the lower piston. Automated presses are used with operating pressures of up to 2,500 tons.
Various other methods are also used when the body of the tile is in a more moist and moldable form. Extrusion and drilling are used to produce irregularly shaped tiles and thinner tiles faster and cheaper. This involves squeezing a plastic mass in a high-pressure cylinder and forcing the material out of the cylinder into small balls. These slugs are drilled into one or more tiles using hydraulic or pneumatic drilling presses. Ram pressing is often used for high profile tiles.
Step 4: Drying
Tiles should be dried after forming, especially if a wet method is used. Drying, which can take several days, removes water at a rate slow enough to prevent shrinkage cracks. Continuous dryers or tunnels heated with gas or oil, infrared lamps, or microwave energy are used.
Infrared drying is best for thin tiles, while microwave drying works best for thicker tiles. Another method, pulse drying, uses pulses of hot air that flows transversely rather than continuously in the direction of material flow.
Step 5: Glazing
Methods similar to those of the tile body are used to prepare the glaze. After calculating a discontinuous formulation, the raw materials are weighed, mixed, and ground dry or wet. The ground enamels are then applied using one of the many methods available.
In centrifugal or disc glazing, the enamel is fed through a rotating disc that throws or throws the enamel on the tile. In the bell/waterfall method, an enamel jet falls on the tile as it passes through a conveyor below. Sometimes the enamel is simply sprayed.
Step 6: Filming
After glazing, the tiles must be heated intensively to reinforce them and give them the desired porosity. The tile goes through low-temperature filming called bisque firing before glazing. This step eliminates volatiles from the material and most or all of the shrinkage. The body and enamel are cooked together in a process called glost cooking.
Both baking processes take place in a continuous tunnel or oven, which consists of a chamber through which the material moves slowly in a conveyor on refractory blocks (shelves made of materials resistant to high temperatures) or in containers called saggers. Baking in a tunnel oven can take two to three days, with cooking temperatures of around 2,372 degrees Fahrenheit.
After filming and testing, the tile is ready to be packaged and shipped.
Meta Description: Tiles are everywhere: in our bathrooms and kitchens, even in our living rooms and bedrooms. Follow this step-by-step process to know how tile is manufactured.


